Getting started with VSCode and Git
Overview
This is the second post in a series of articles, that are aimed at showing you simple step by step guides to creating your own static website hosted on GitHub for free. This post focuses on setting up VSCode and Git. I’ll show you how to install and configure them, then we’ll connect to our GitHub repository. If you’re not sure what Git is and why it makes sense to use it, then this is a good article that explains the basics.
The starting point for this series of guides is here. The first article explaining how to set up a GitHub account is here. in case you need to do that.
Install VSCode on Windows 10
First of all lets grab the latest version of VSCode. For Windows you have two choices, either download from the Microsoft site here or use PowerShell.
Let’s keep it simple and download via the browser. Go to the URL above and then click on the relevant blue box for your setup:
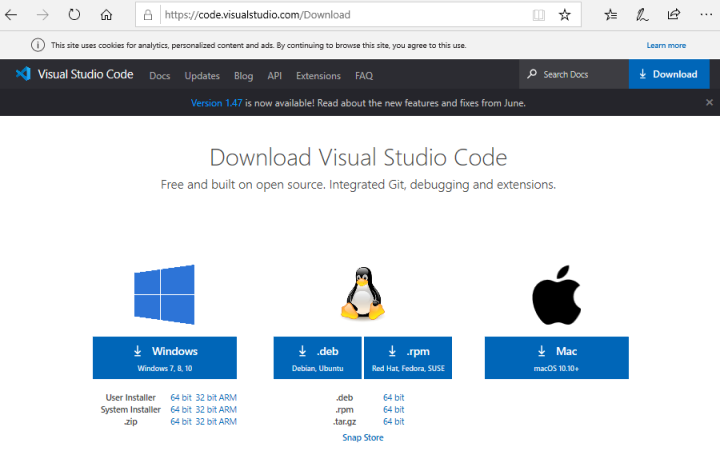
For me it’s Windows 10, I clicked on the box on the left, and Edge downloads the setup exe:

Once downloaded click run, depending on which account your logged on as you might get this warning:
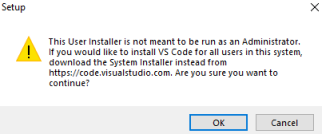
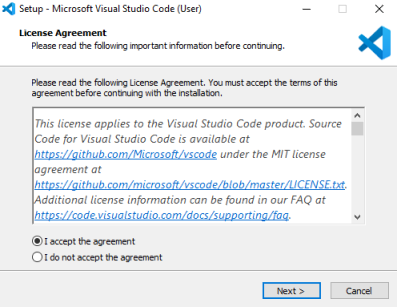
If you want to install as Administrator click ok, otherwise cancel and log on with the user you want to use. At the license agreement choose I accept the agreement and click Next:
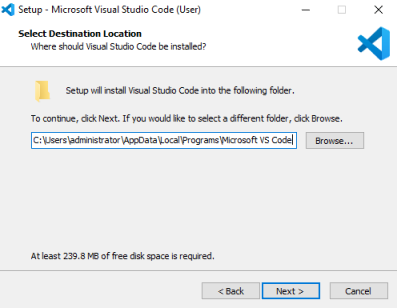
Choose where you want to install VSCode, then click Next:
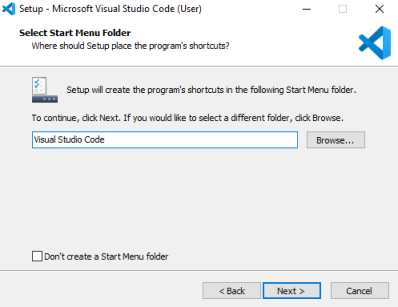
Choose if you want a Start Menu shortcut and where, then click Next:
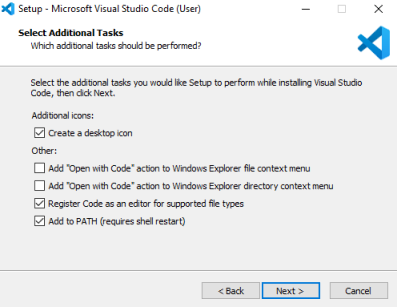
Choose any additional settings, and then click Next:
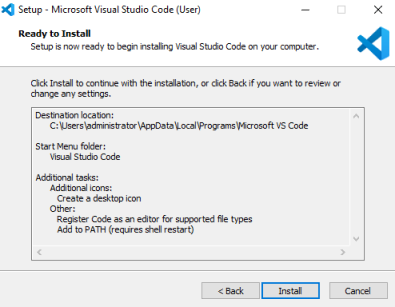
Review your choices, and then click Install:
 ]
]
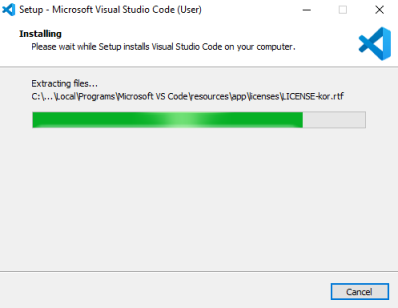
Wait while VSCode is installed:
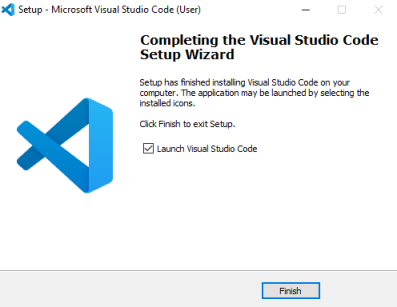
After installation click Finish to start VSCode:
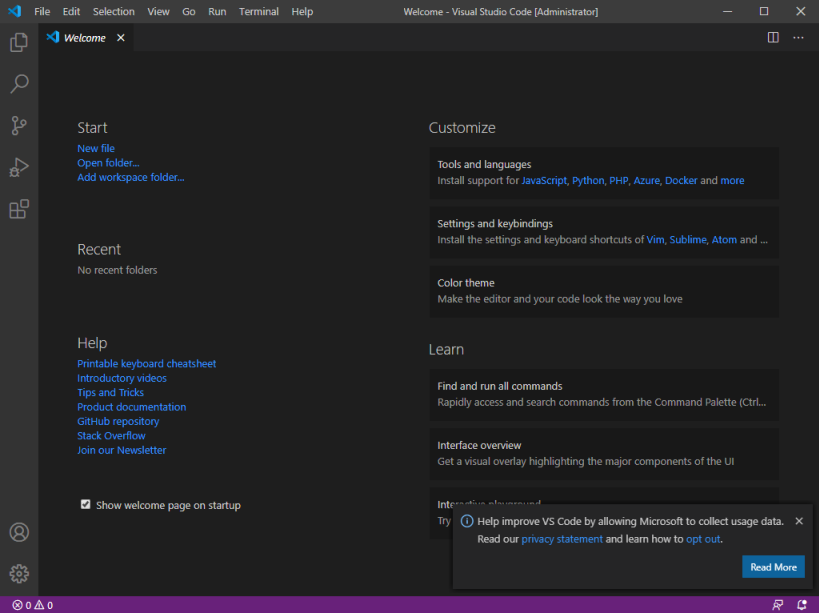
You now have VSCode installed, and ready to configured:
You’ll need to have already set up your GitHub account and repository before proceeding with the following install and configuration of Git. Follow my previous guide here. if you still need to do that, then come back and follow on with the below.
Installing Git
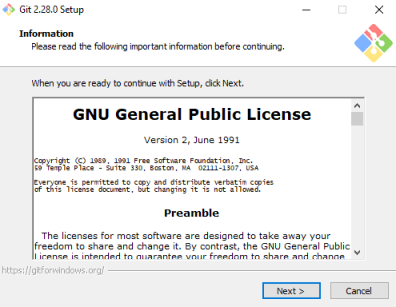
On Windows 10 you will need to install Git, so you can connect your VSCode workspace to your GitHub repository. Download Git for Windows from here and run it. Read the license and then click Next:
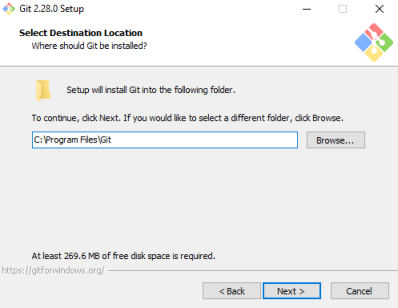
Choose where you want it installed, then click Next:
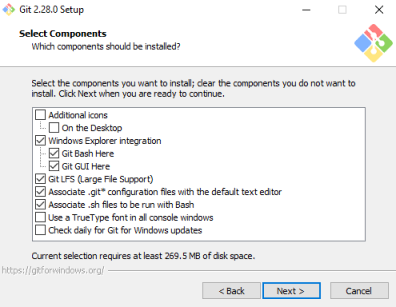
Select which components you want to install, I leave the defaults, then click Next:
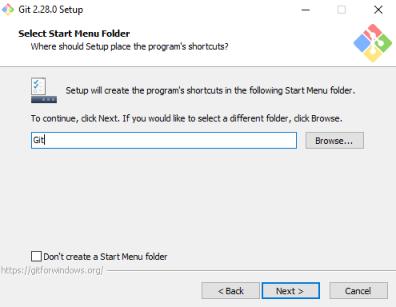
Choose if you want a Start Menu folder creating, and where, then click Next:
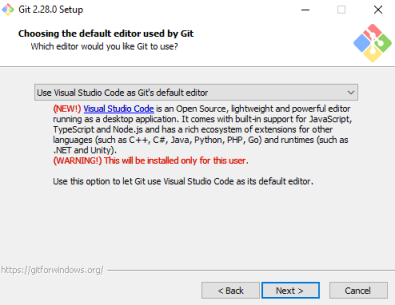
On the Choosing default editor screen change it to Use Visual Studio Code, and click Next:
On the adjusting path screen leave the default recommended option, and click Next:

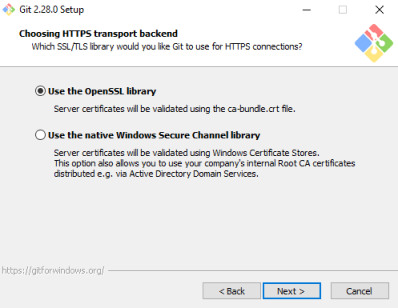
On the HTTPS selection screen leave the default OpenSSL option, and click Next:
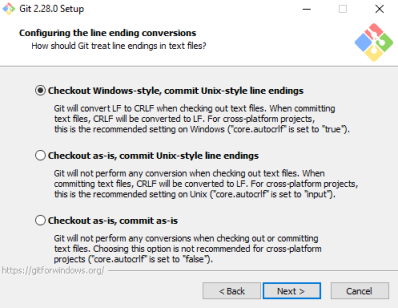
On the configure line ending conversion screen leave the default, and click Next:
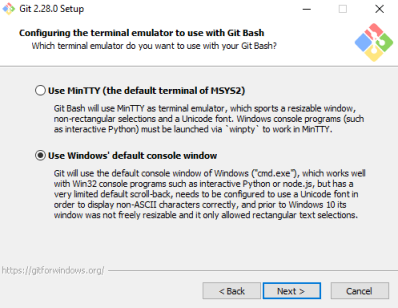
If installing Git on Windows 10 the you can change the terminal to use the default console window, then click Next:
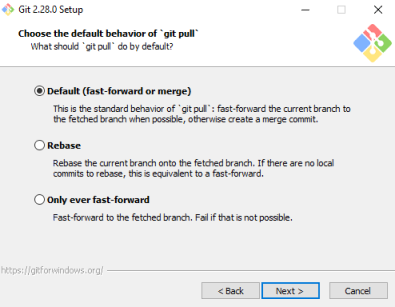
On the git pull behavior screen leave the default selection, and click Next:
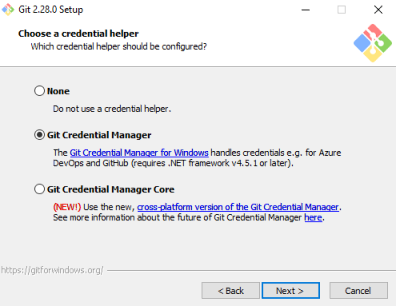
On the Git credential helper screen leave the default middle option, or you can use the bottom option to install the new Core version. Either works with Windows 10, after selecting click Next:
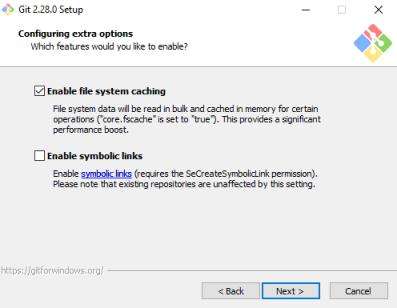
On the configuring extras screen leave caching enabled, and then click Next:
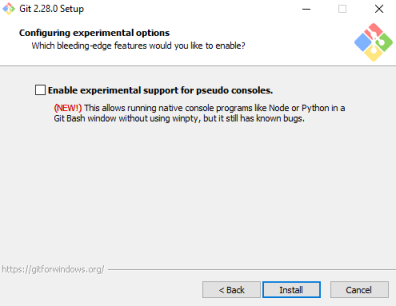
On the experimental options screen leave pseudo console disabled, and then click Install:
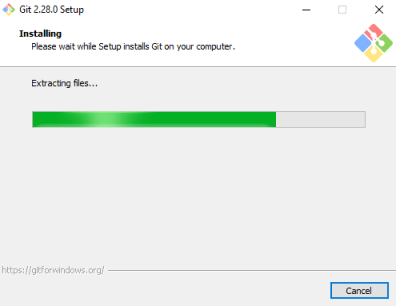
Wait while Git is installed:
Select Launch Git Bash, and click Next:

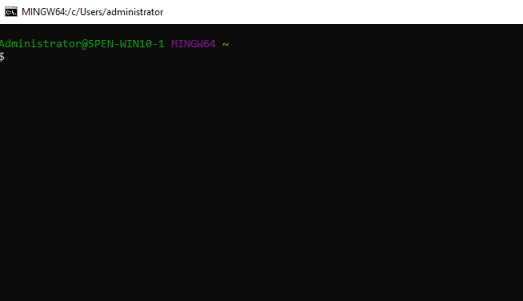
You’ll now see your Git Bash window:
The files we create and edit in VSCode will be kept in our local Git repository. We can connect this to GitHub and store our credentials. VSCode will then use these to synchronize your local files with your remote GitHub repository, without you needing to log in each time.
Configure Git
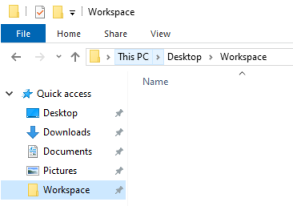
First make a new folder to use as your local workspace:
In the Git Bash window we need to set the username we’ll use to connect to GitHub:

This is the same username we used to set up our GitHub account in the last guide. Next we set the email address we used:

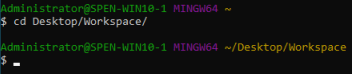
Now we change directory in to our workspace folder:
Finally we can clone our remote repository down to our local workspace:
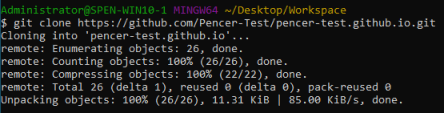
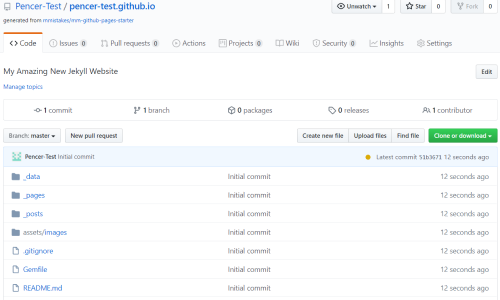
If we CD in to that cloned repository, we see the files match what we have on the GitHub site:

Here’s how our repo looked on GitHub when created it in the previous guide:

Configure Workspace
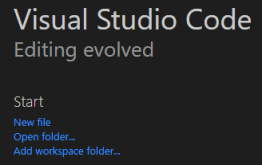
Now we have our remote GitHub repository cloned to our local Git instance. Let’s go back to VSCode and click on Add workspace folder:
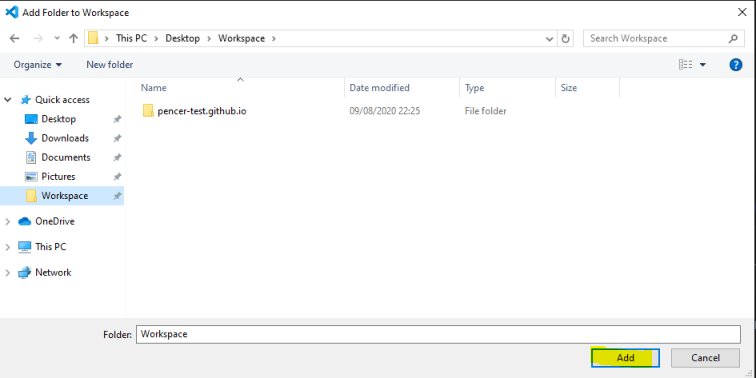
Browse to the folder where we cloned our GitHub repository, and click Add:
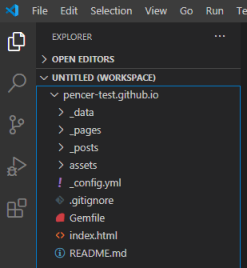
Clicking on the Explorer tab on the left shows our files in the workspace folder:
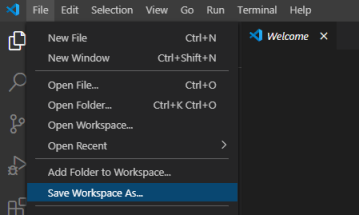
Let’s save the workspace, so later we can change some of its settings:
Choose a name for the workspace configuration file and where you want to save it:

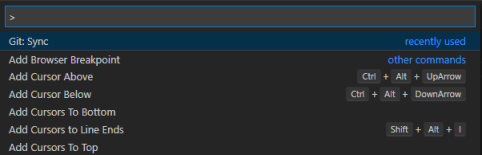
Run a sync to ensure all local files are up to date:
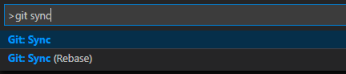
Click OK to run the sync:
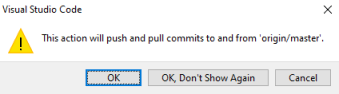
Doing this also gets VSCode to ask you to enable periodic fetches:

Create and publish test file
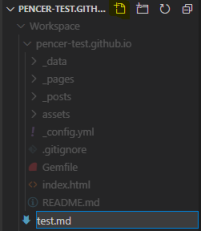
Now let’s create a test file:
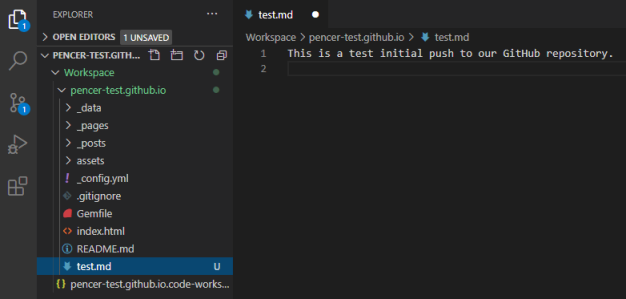
Add anything as content:
Run another sync:
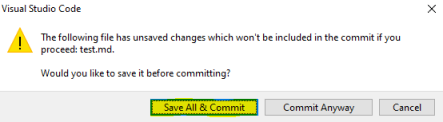
Choose to save and commit the file:
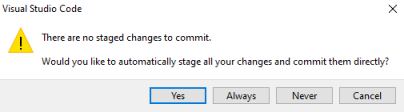
Choose Yes to automatically stage all change:
Enter a meaningful message to the commit:

Now push your changes to GtiHub:

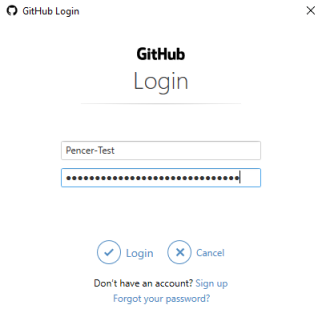
If this is the first time you’ve pushed to GitHub you’ll need to enter your credentials:
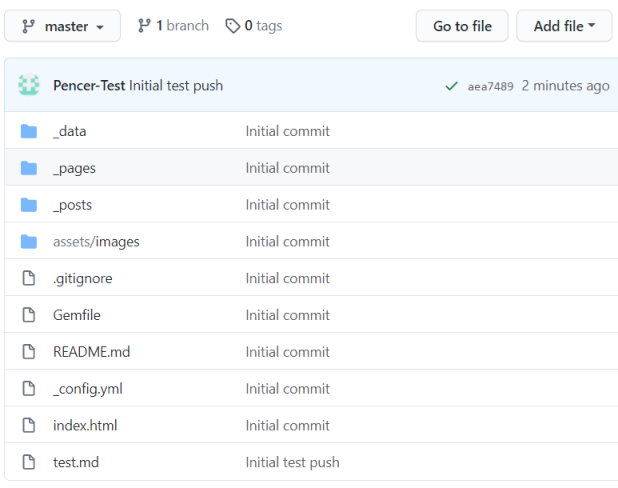
If you look at the repository on GitHub you should see the newly committed test.md file:
That’s it for our installation and configuration of VSCode and Git.
Summary
So in this post we’ve looked at grabbing the latest version of VSCode, and Git. We’ve installed and configured them, and connected to our remote GitHib repository. Next time we’ll look at some of the useful extensions that you can install in VSCode, which turn it in to a comfortable writing environment.


Comments