Extensions for VSCode to help you write posts easier
Overview
This is the third post in a series of articles, that are aimed at showing you simple step by step guides to creating your own static website hosted on GitHub for free. This post focuses on a few useful extensions I use with VSCode. These give me a comfortable working environment, and some of the shortcuts really speed things up.
The starting point for this series of guides is here. The first article explaining how to set up a GitHub account is here. in case you need to do that. The second article which goes through installing VSCode and Git is here.
VSCode Extensions overview
One of the reasons why VSCode has become so popular is it’s versatility. With the addition of a few selected extensions, you can change your environment from a Python playground to a writing suite. It’s quick and simple to install extensions, and looking over the VSCode Marketplace you’ll see there are hundreds to choose from.
Microsoft has a good guide to the Extension Marketplace here.
Below I show you the extensions I’ve used to give me a comfortable writing environment. I now do all of my writing in VSCode. So hopefully you’ll find it a nice place to work as well.
Activity Bar
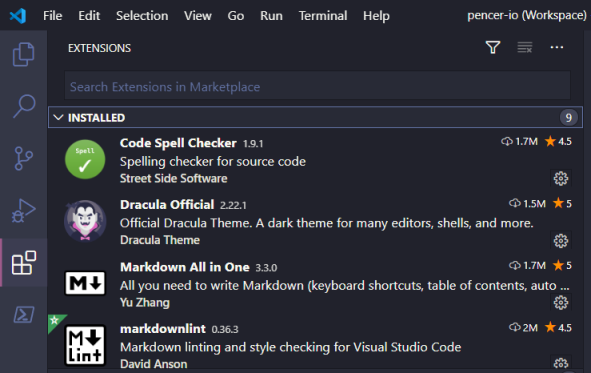
The area on the left of the interface is called the Activity Bar. You can get to the Extensions view by clicking on the fifth button down that looks like four small squares:
You can also get there by clicking Ctrl+Shift+X.
Microsoft has a good guide to the user interface of VSCode here, which explains all of the different views, shortcuts and so on.
Finding Extensions
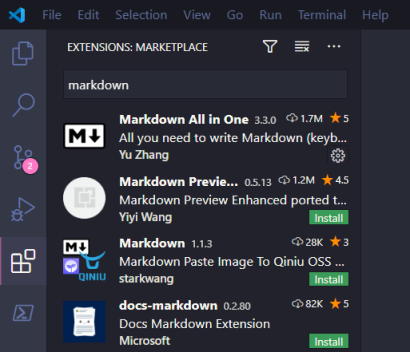
You can search the Marketplace for extensions from within VSCode by simply typing what your looking for in the search area at the top of the Extension view:
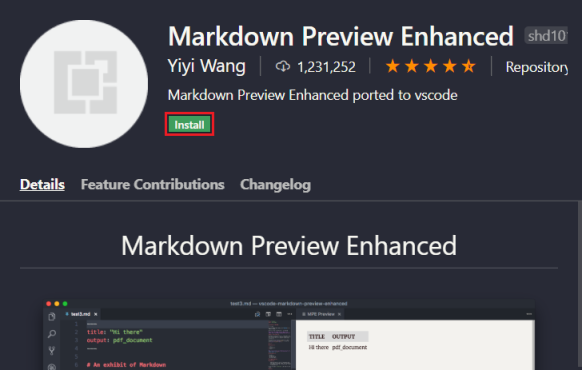
When you’ve found the one you want just click install:
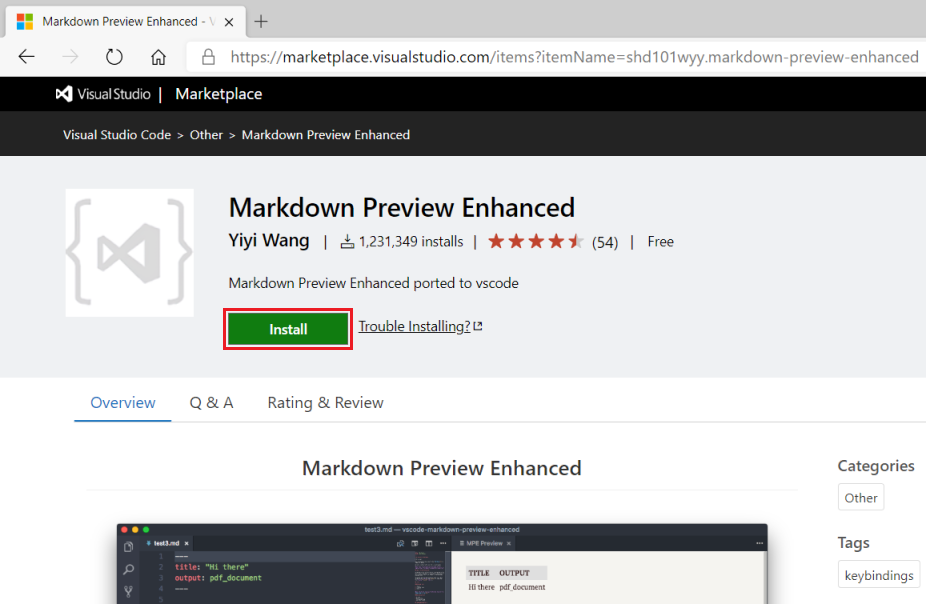
You can also find and install extensions from the Marketplace in your web browser:
Extensions I Use
Hopefully the above has given you an idea of how to find and install extensions in VSCode. Now I will show you the ones I use in my writing Workspace, which is what I use to write blogs, articles and so on.
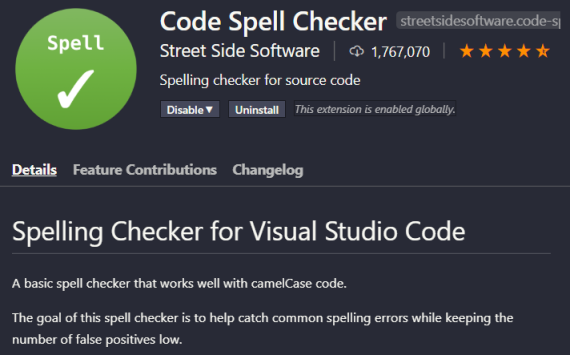
Code Spell Checker
The first one is simple enough. When enabled you’ll see extra information in the status bar at the bottom of the screen:

On the right it shows the name of the currently focussed document. On the left it shows you the language it’s detected, in this example it’s a Markdown file. You can click on this to get to the settings for the spell checker:
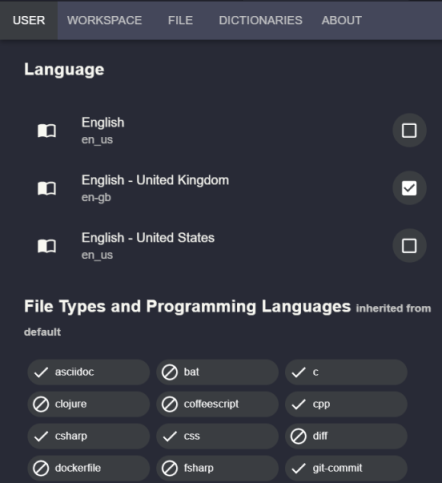
Here you can make sure the correct language is set.
Word Count
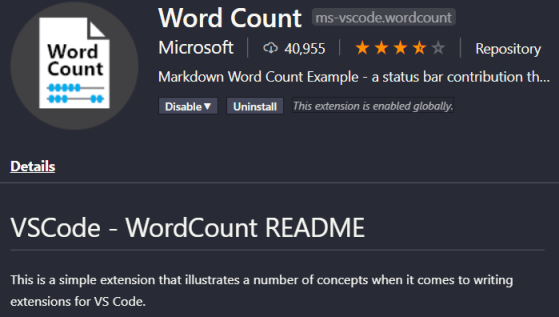
The next one is even simpler. Word Count just shows you the number of words in the currently active document:

Useful to know at any time, especially if you’re writing an article and need to hit a particular number of words.
Markdown All In One
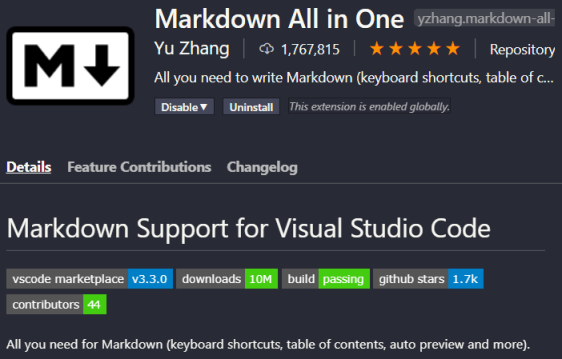
As we’ve already seen, the blog we’re creating is based on Jekyll which uses Markdown for all files. This next extension gives us a few useful shortcuts to speed things up. There’s so many useful features in this extension, that you really need to have a look through the list to see what you can do. Things like auto completions, keyboard shortcuts and list editing save you a lot of time once you get the hang of them.
Markdown Lint
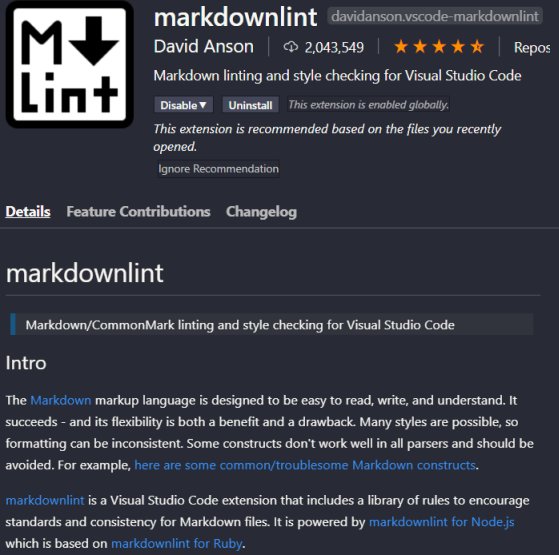
This extension is here to help us be consistent with our Markdown. A description of a linter from Wikipedia (here) is:
A lint, or a linter, is a static code analysis tool used to flag programming errors, bugs, stylistic errors, and suspicious constructs.
This extension adds a counter to the status bar at the bottom, where you can see errors and warnings:

If you click on that counter a window describing each problem pops up:

You can now click on each error to see information on what’s wrong, and how you can fix it to smarten up your Markdown.
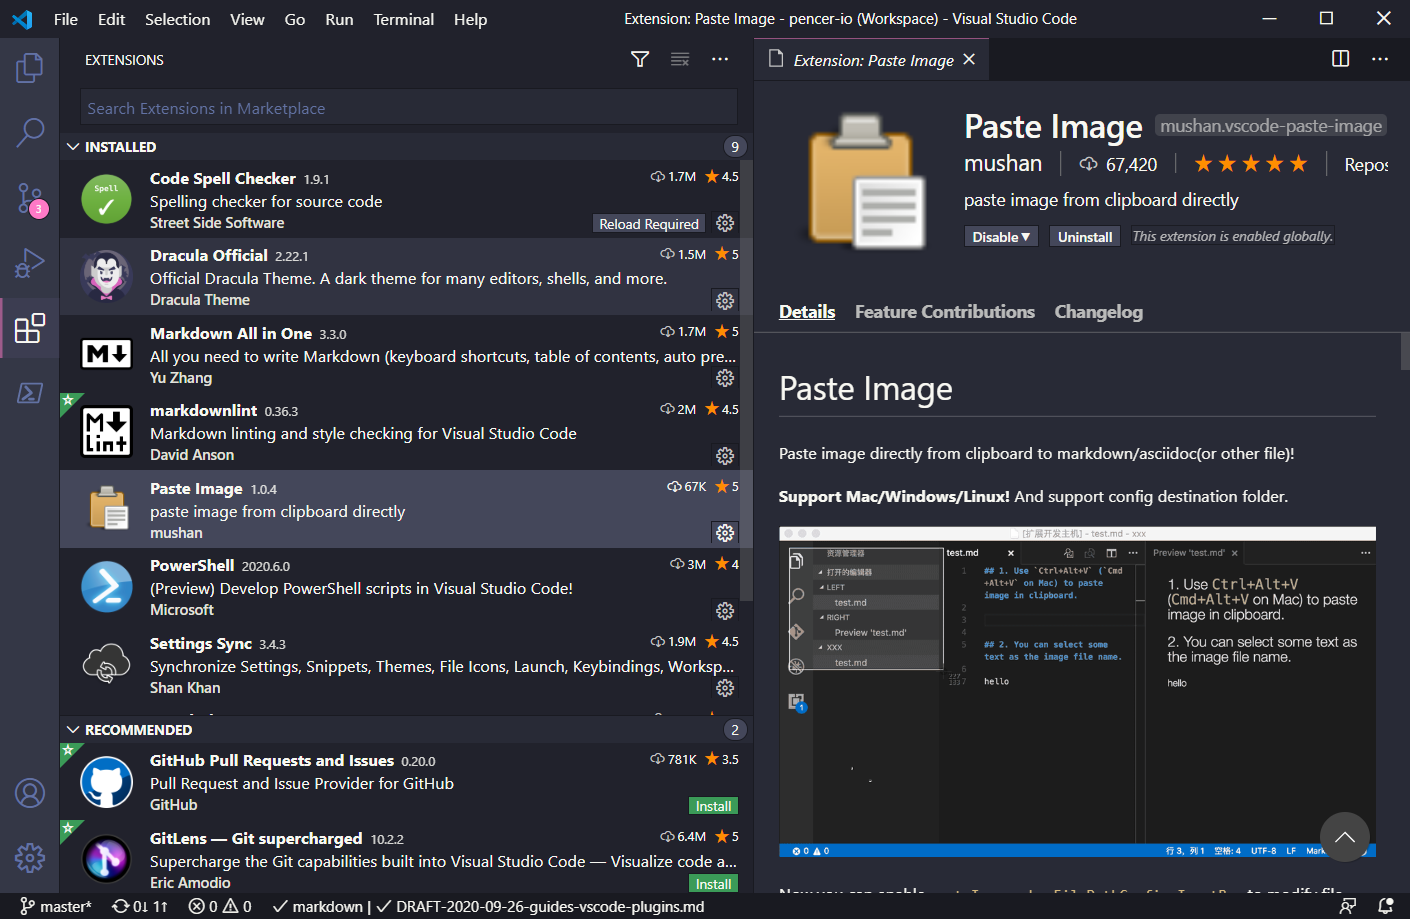
Paste Image

I find this extension is incredibly useful. If you’re doing technical writing, then you will probably be inserting a lot of screenshots like me. With this extension set up and enabled you can simply press Ctrl+Alt+V to paste the contents of the clipboard straight in to your document.
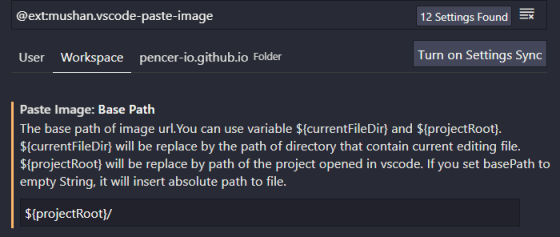
To get this to work correctly for our Jekyll based website we’ve been creating you need to change a couple of settings. First under the Workspace section change the Base Path to ${projectRoot}/ like this:
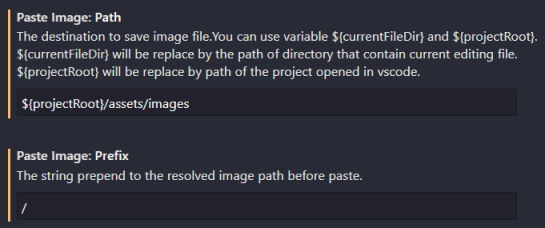
Secondly we need to change the Path to ${projectRoot}/assets/images and Prefix to /, like this:
The image will be saved in the folder based on the Path above. The relative path to that file will be pasted in to the file you’re editing, like this:

For accessibility reasons we should always add an alternate text to the image, like this:

This extension really does save me a lot of time.
vscode-icons
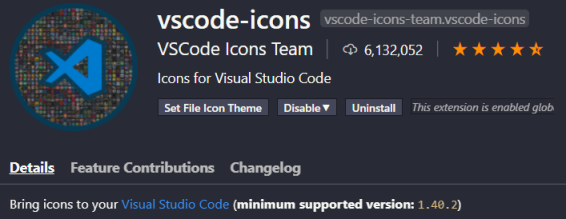
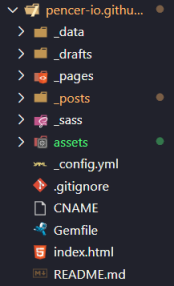
This extension just makes the VSCode interface look a little prettier, with custom colourful icons for the different types of files:
Dracula Official
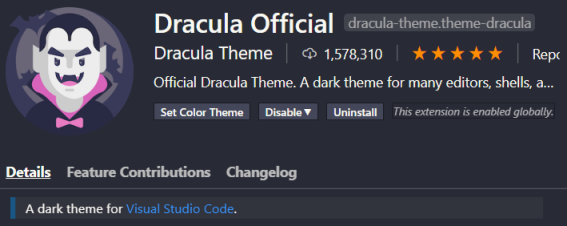
This is another extension aimed at making the VSCode environment a little easier on the eyes. The Dracula theme has been around for many years, and there are hundreds of versions built to work with every editor, console and app you can think of that supports themes.
Summary
So in this third post we’ve looked at how to find and install extensions for VSCode. I’ve also shown you the extensions I use for my writing Workspace. Next time we’ll look closer at Jekyll, and how you can customise a remote theme to your own liking.


Comments