Importing Kali 2020.2a in to VirtualBox

VirtualBox And Kali Information
Kali is one of the most popular pre-built cyber security environments. It’s well maintained and kept updated regularly, with a dedicated team at Offensive Sercurity working on it. It’s also referenced and used in many blogs, articles and guides. So to keep things simple I like to use it whenever I can.
You can find information about the 2020.2a release of Kali here..
You can download the VirtualBox specific image of Kali 2020.2a here.
See this guide on how to set up VirtualBox if you haven’t already got it installed.
Importing Kali 2020.2a
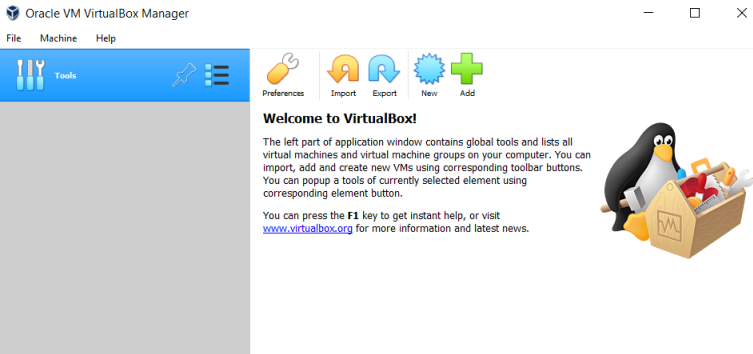
After you’ve downloaded the VirtualBox specific Kali pre-built image, open VirtualBox and click on Import:

Browse to your downloaded file, select it:

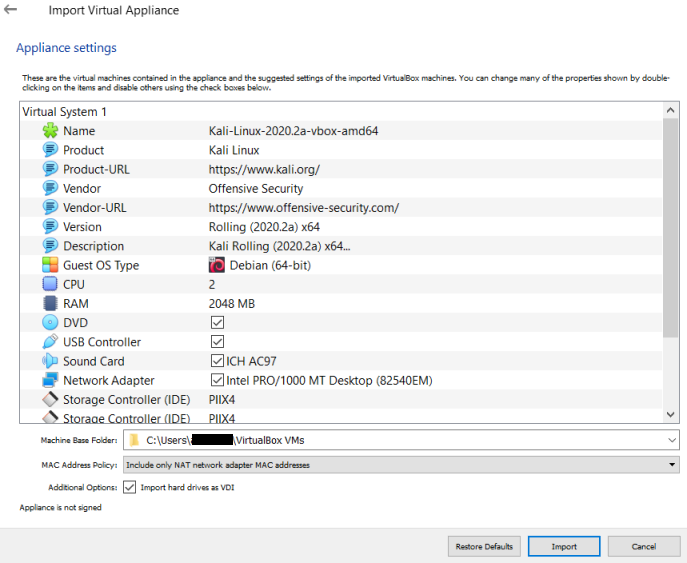
After clicking Next you’ll see the default appliance settings already configured:

The only things I change at this point is CPU and RAM. Make sure your host machine has enough of it’s own resources before changing these:

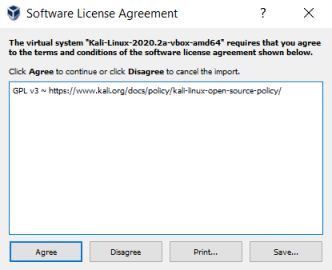
After clicking Import you’ll now have to agree to the software license:

After clicking Agree you should see the appliance importing:

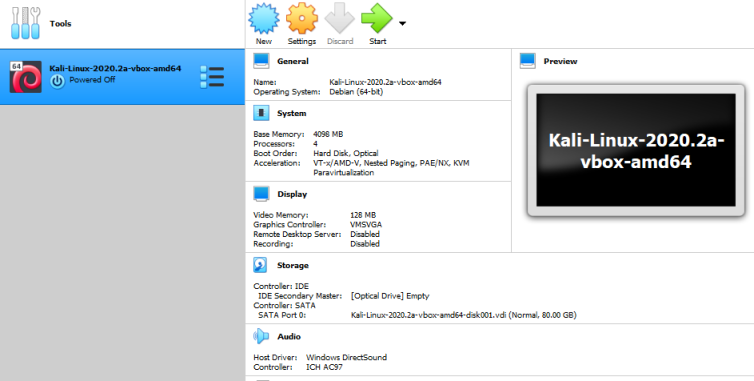
Eventually you should be back to the main window with Kali imported:

There’s a few tweaks you can do to try and squeeze the maximum performance out of your virtual Kali machine. This TechRepublic article is worth having a quick read if you need a few ideas.
Now we’re ready to fire up our Kali machine and get it ready for use. Follow my next guide on the things you’ll want to do with Kali after it’s first boot.


Comments