Getting started with Github
Overview
This is the third post in a series of articles, that are aimed at showing you simple step by step guides to creating your own static website hosted on GitHub for free. This post focuses on setting up a new GitHub account, choosing your Jekyll theme, and then cloning it to your first repository.
The starting point for this series of guides is here. The second article which goes through installing VSCode and Git is here.
Register with GitHub
If you already have a GitHub account, or you’re familiar with the process, then you can skip this post, and move on to the next one.
First we need to sign up for a free account with GitHub. You need a valid email address for this stage, so you can verify your account. GitHub will also email you periodically, so probably best not to use a burner address. A Gmail account created just to use with this can work well, especially if you want to look at integrating other Google services introduced in later posts such as Google Search and Google Analytics.
So head over to GitHub, and let’s get going by filling in the sign up form:
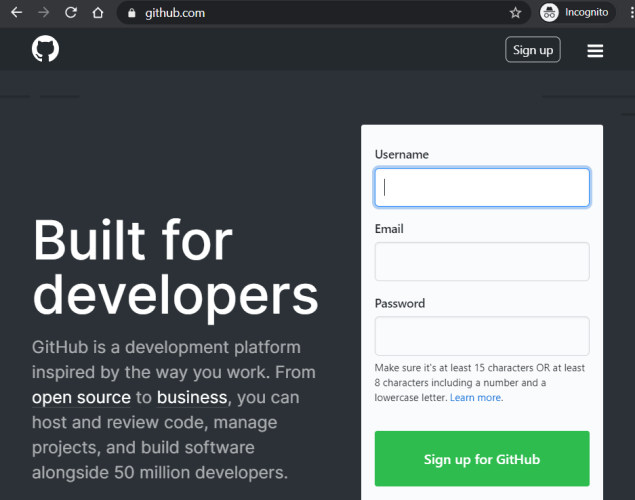
The username you pick here will be visible to everyone on GitHub, so pick something appropriate to you. After you hit the sign up button you’ll need to solve a puzzle to verify you’re not a robot:
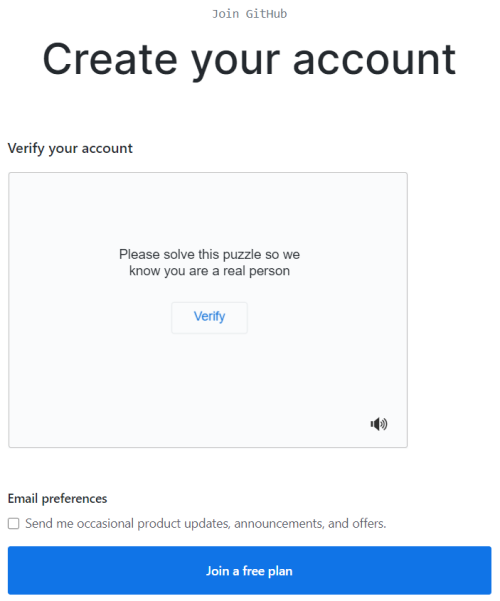
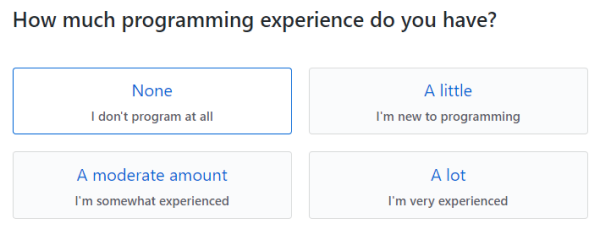
Once you’ve solved that, click on Join a free plan. Now you can fill in a few questions about what you want to use this account for (or skip it):
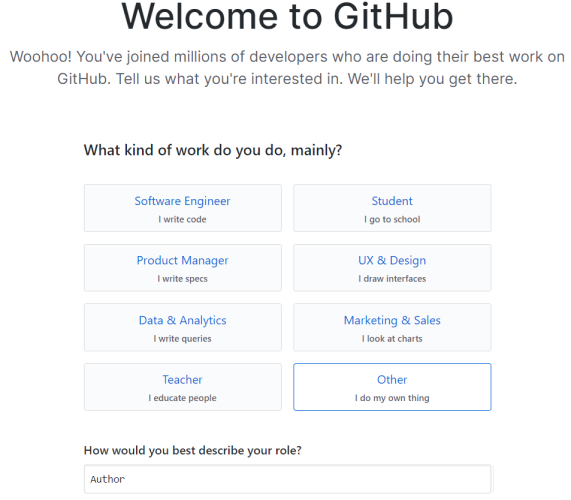
If you’ll be using this account just to host your blog then None is ok, but really it doesn’t matter too much what you pick:
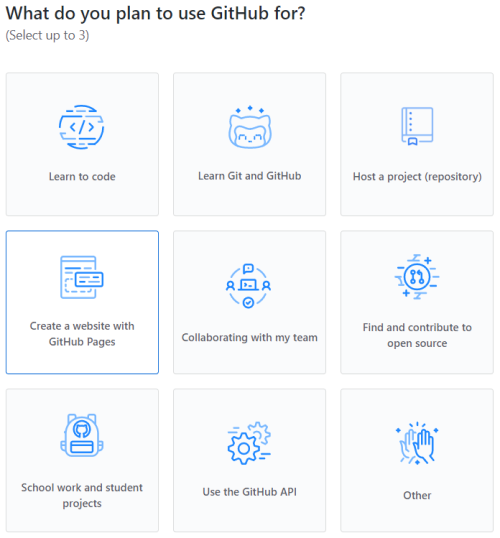
Here choose Create a website with GitHub Pages:
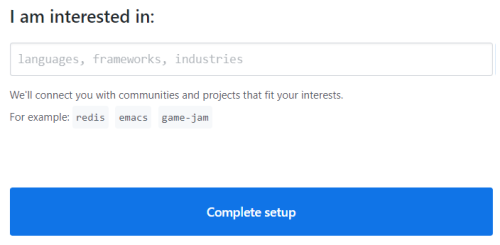
Here you can enter interests, or leave blank, then click on Complete setup:
Head over to your emails and look for the verify email from GitHub:
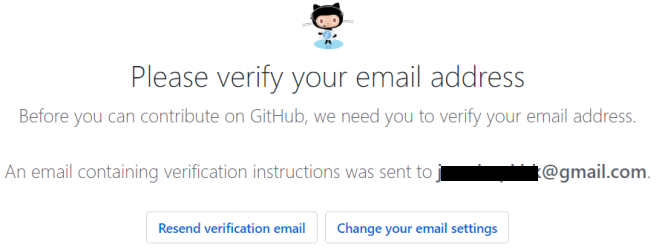
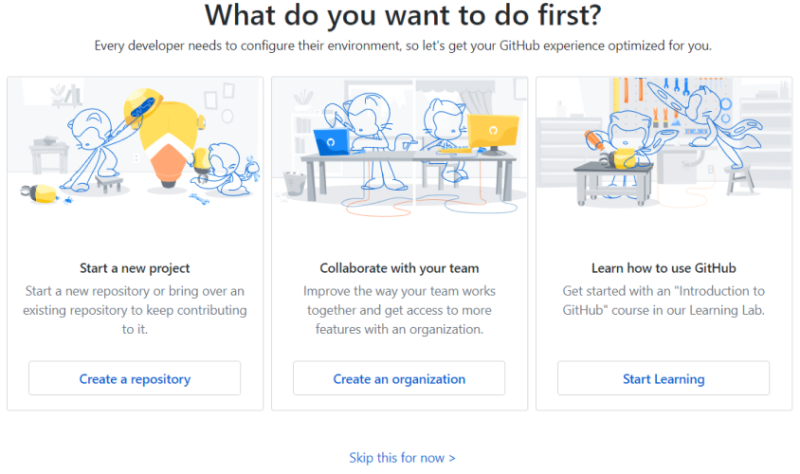
Once you’ve clicked on the link in the verify email you’ll end up here. If you’re new to GitHub then it might be worth choosing Start Learning first. This will take you through cloning your first repository, and doing some guided learning on GitHub basics. You can do this later, so it doesn’t matter if you don’t want to do that now. If you’re ready then choose Skip this for now:
If you skipped the guided learning, and now wish you’d had a look, then you can get to them here.
GitHub Pages
GitHub let’s you serve static html content directly from your repository, using what they call GitHub Pages. Find more information on what that means here.
Jekyll
To make it simple you can use Jekyll, here’s a description of what that is taken from their site:
Jekyll is a static site generator. You give it text written in your favorite markup language and it uses layouts to create a static website. You can tweak how you want the site URLs to look, what data gets displayed on the site, and more.
If you’ve never heard of Jekyll, don’t worry for now, because the way it’s implemented on GitHub makes it really easy to deal with. We’ll be going through using Jekyll a lot through out these guides, so by the end of it you’ll be much more confident. You can find lots more information about Jekyll by going to their site here.
Markdown
Markdown is a simple way to write your content, without having to deal with HTML markup. It’s really easy once you get the hang of it. Here’s a description of Markdown from GitHub:
Markdown is a way to style text on the web. You control the display of the document; formatting words as bold or italic, adding images, and creating lists are just a few of the things we can do with Markdown. Mostly, Markdown is just regular text with a few non-alphabetic characters thrown in, like # or *.
With the right plugins installed in your VSCode editor, you’ll find it quick and easy to work with Markdown. Find more information on what it’s all about here.
Choosing A Jekyll Theme
If you’re not familiar with any of the above then it’s a lot to understand. So take some time to read a few of the linked sites above.
When you’re ready to get started on creating your new Jekyll based blog, you’ll want to have a look at some of the pre-built themes that are available, many of which are free. Whilst you’re still working out if this is the right platform for you, I would encourage you to have a look around and see what’s out there.
Here are few sites to get you started:
I played with a few different ones, before settling on this one:
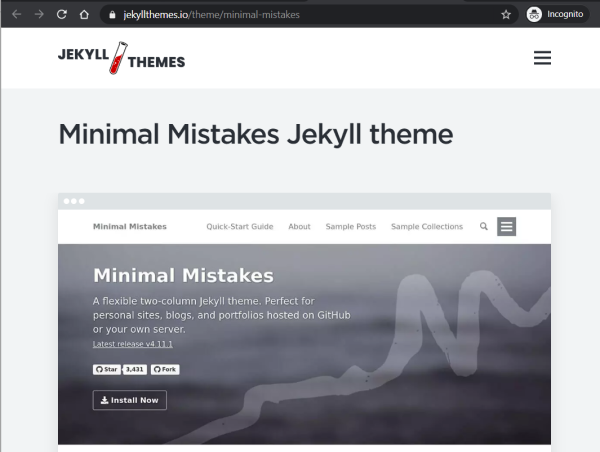
I’ll be basing the rest of this guide, assuming you’re following along with me using the Minimal Mistakes theme here. Other posts in this series of guides also use the same theme as a reference for the instructions. So if this is all new to you, then for simplicity I would suggest you go with Minimal Mistakes for now.
The good thing to know about Jekyll themes, especially remote themes which is what we will look at here, is that they are simple to swap in and out for different ones.
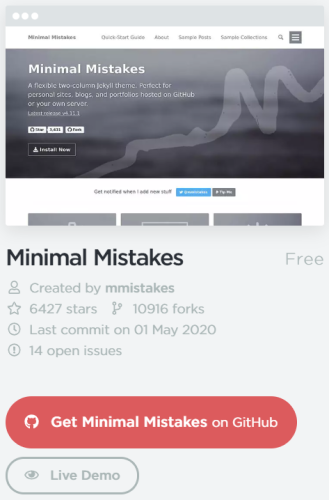
It’s worth noting you can have a play with the theme by trying the live demo here.
When you’re ready, let’s move on and get the Minimal Mistakes theme cloned to our own repository so we can start customising it. To do that click on the red button that says Get Minimal Mistakes on GitHub
You’ll end here after clicking the button:
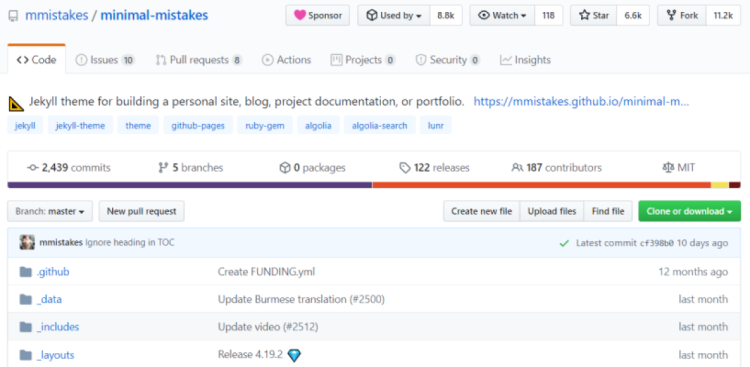
You could clone the whole repository, and then work with that. An easier way, especially as you’re just getting started, is to use the remote theme starter link highlighted here:
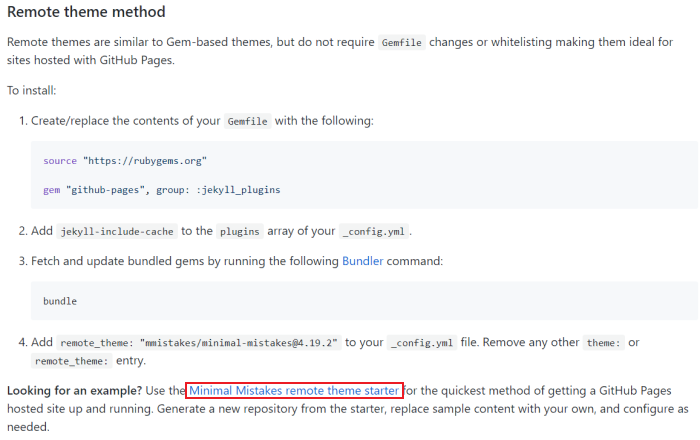
Cloning Remote Theme
A remote theme is just the bare bones files needed by your site, to allow it to render your content using the theme you’ve chosen. Instead of having to copy all the files across for the theme, some of them have many many files, it has a small number that link back to the original repository. This makes it simple for you to get started, as there aren’t many files for you to look at.
All will become clear as we move on through these guides.
After you clicked the remote theme starter link before you’ll now be here:
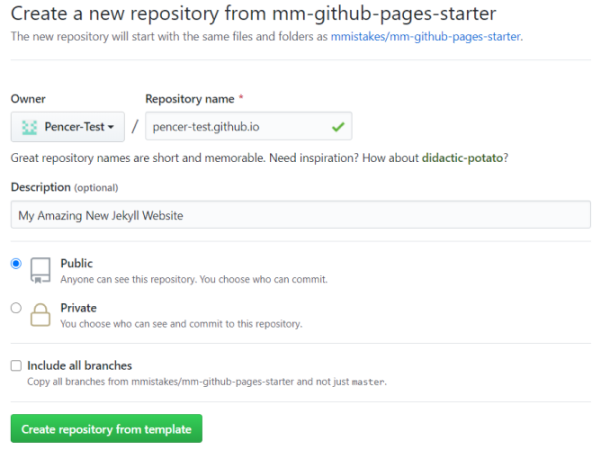
Make sure you call the repository name the same as your account name, and then github.io on the end. Give it a description and leave it set as Public.
Here is how to name your repository, for this test site I called it pencer-test.github.io:

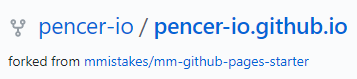
For my main site if looks like this:
Once you’ve clicked on the green create button you’ll see this for a few seconds:
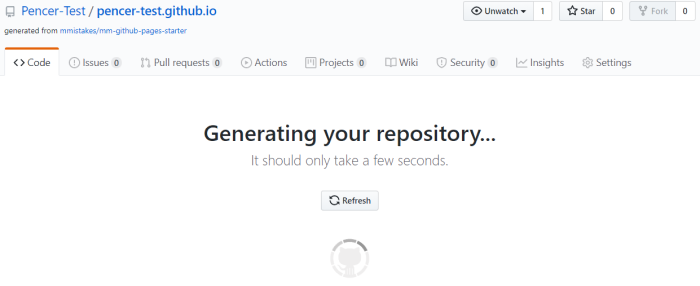
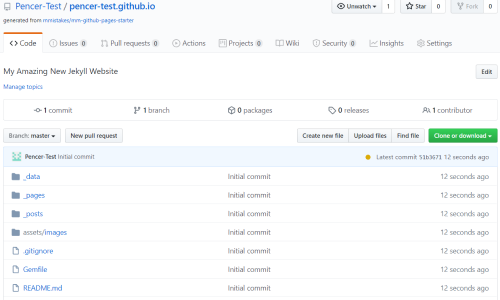
Once the clone is completed you’ll end up here, looking at your new repository:
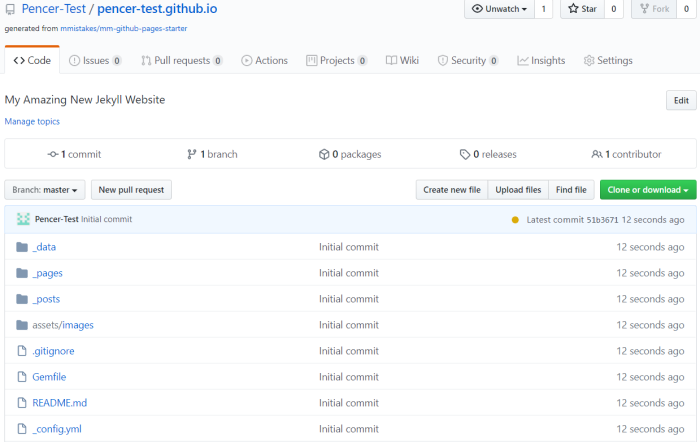
If you look around, you’ll find there are only four configuration files, and around fifteen example content files. These include files related to pages and posts. You’ll get to understand later what they are for when we start creating content.
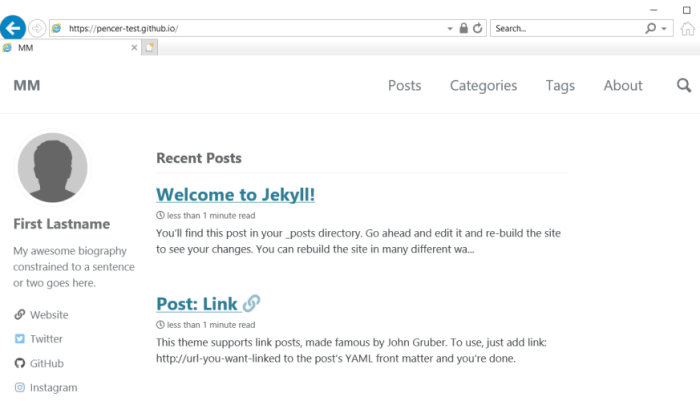
That’s all there is to getting your website set up and hosted by GitHub, you can have a look at it now by going to your URL:
Summary
So in this first post we’ve learnt a little about GitHub, Markdown, Jekyll and its remote themes. We’ve also cloned our first repository and enabled a basic website for the world to see.


Comments